Quick Guide
4 steps to build and deploy your AI chatbot on X3.
Prerequisite: Sign in or create an account before starting.
Navigate to Agents Page
- Go to Agents from the dashboard
- Pick a template or click Custom
- Click Next to proceed
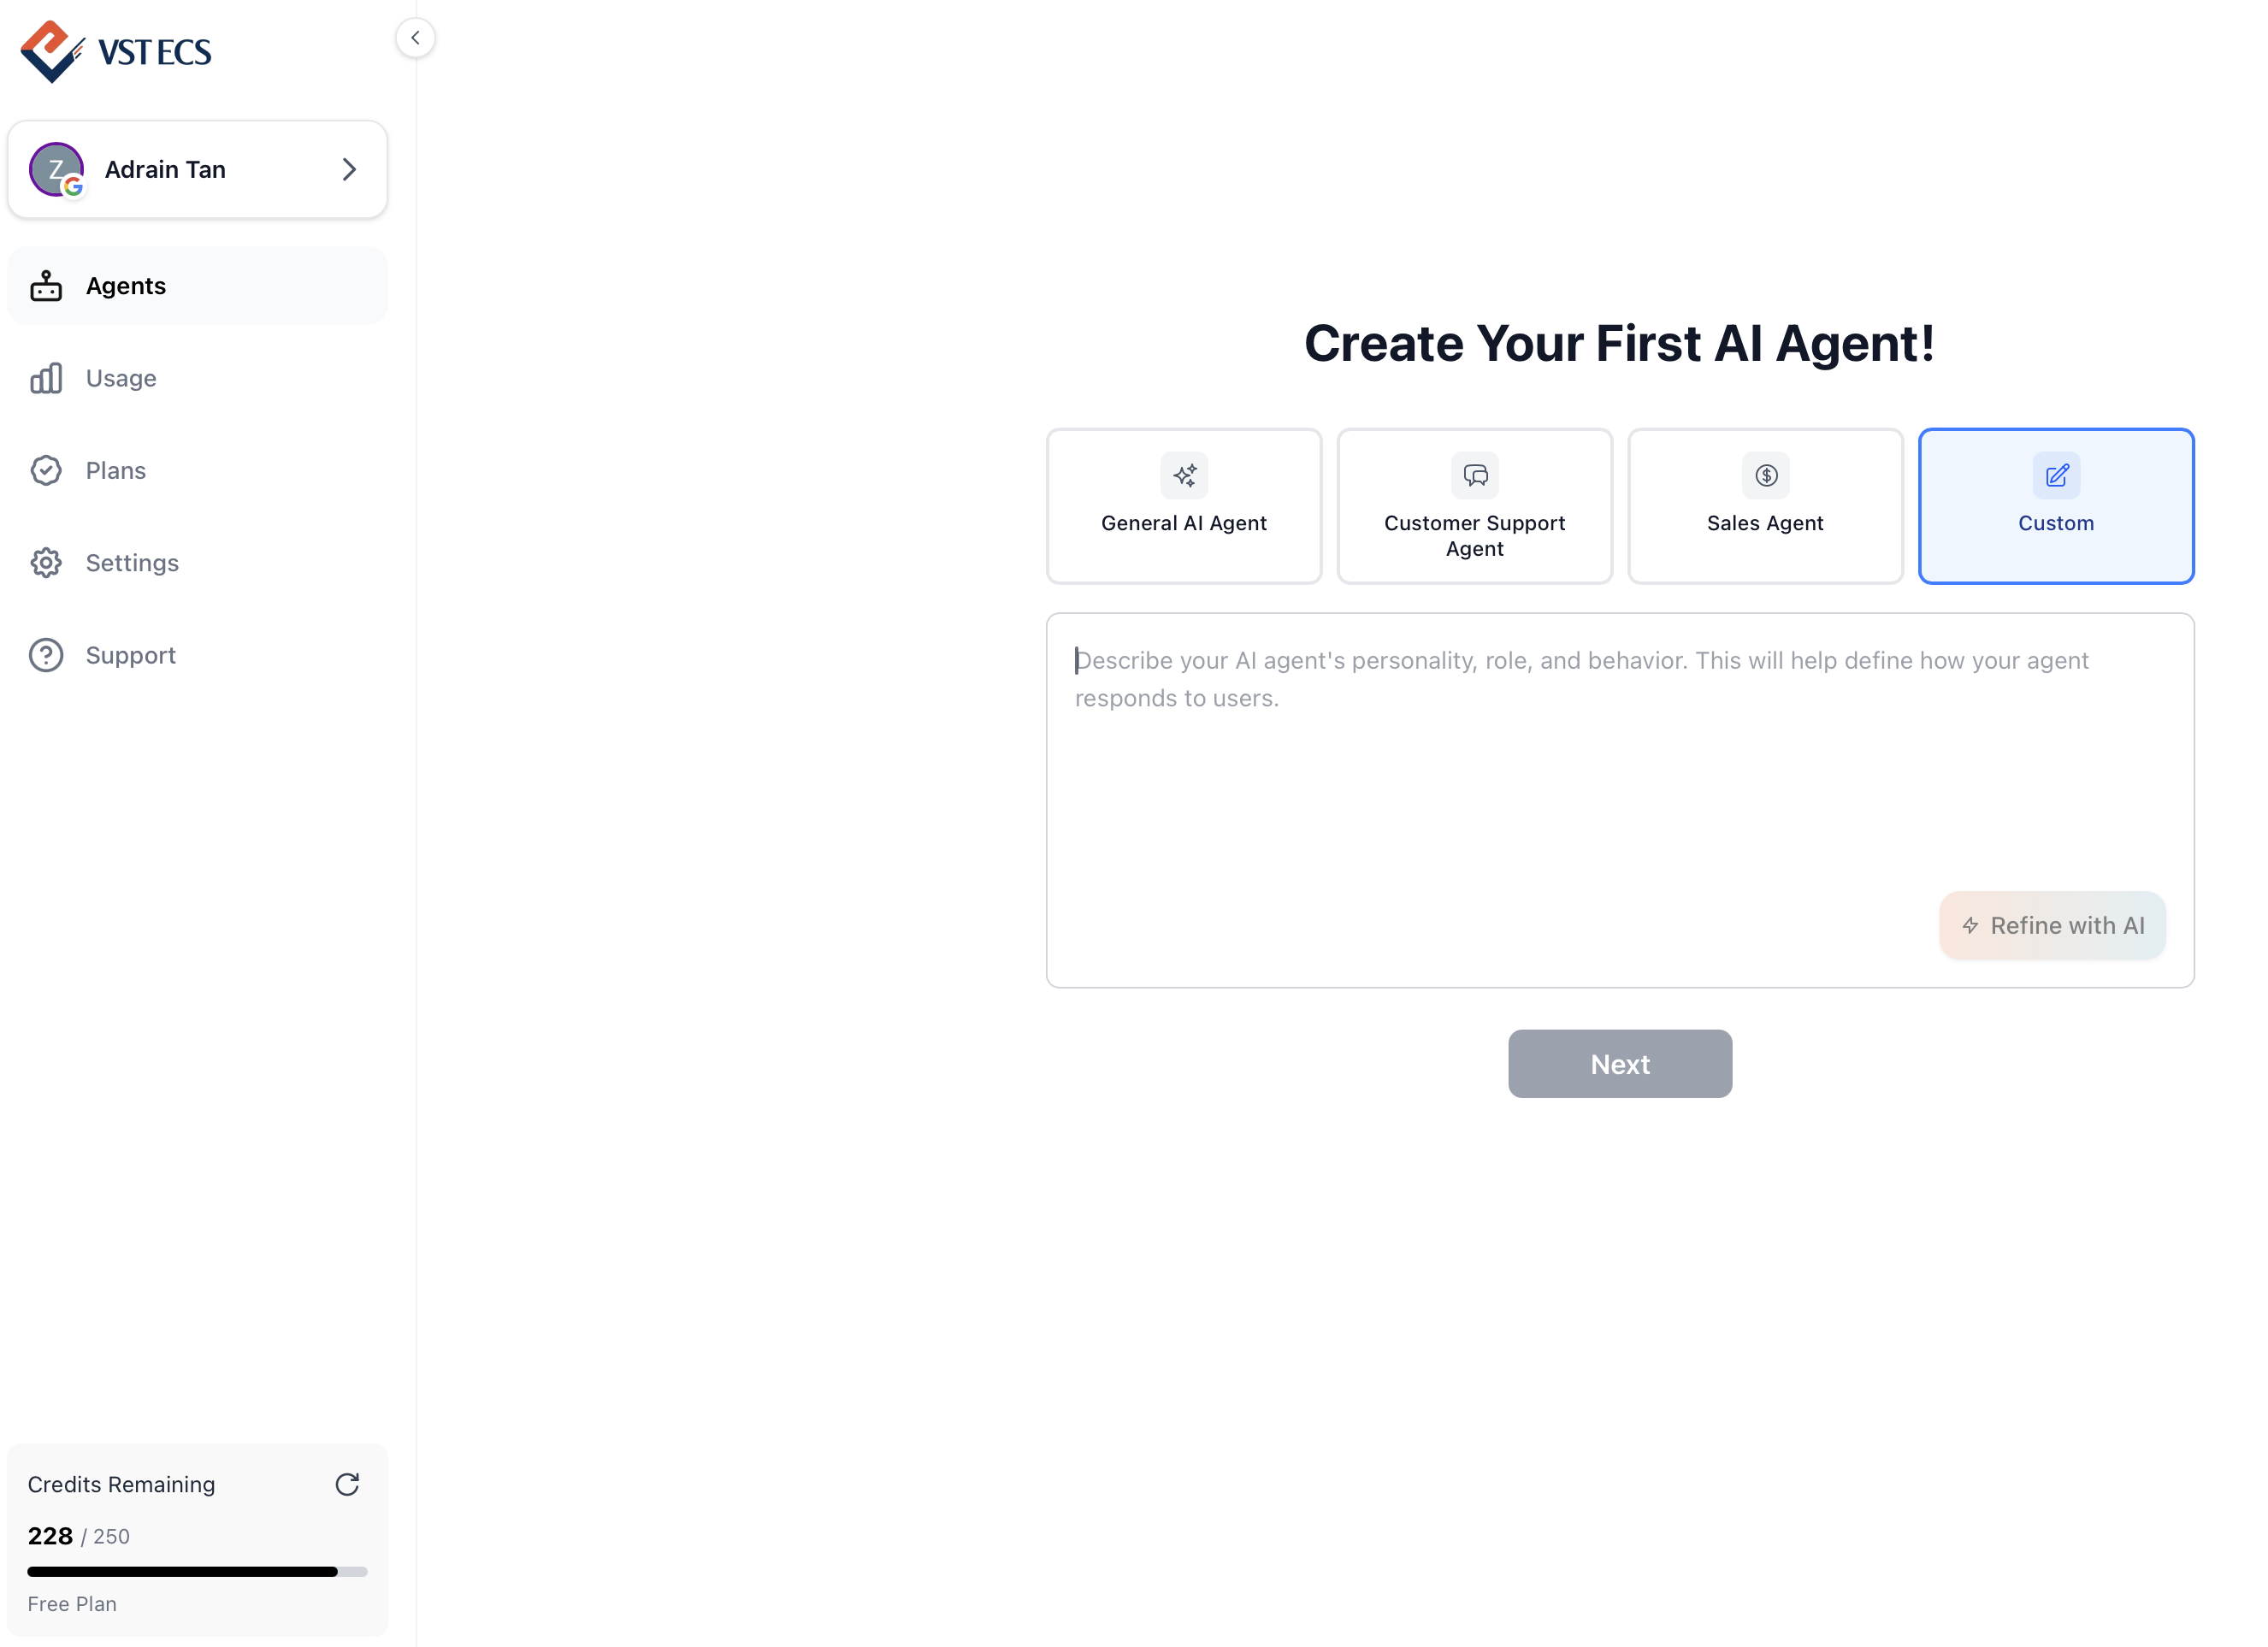
Choose a template or click Custom to describe your agent
Enter Agent Details
- Enter Agent Name and Role
- Choose a template: General AI, Customer Support, or Sales
- Or write your own custom instructions
- Use Refine with AI to improve instructions automatically
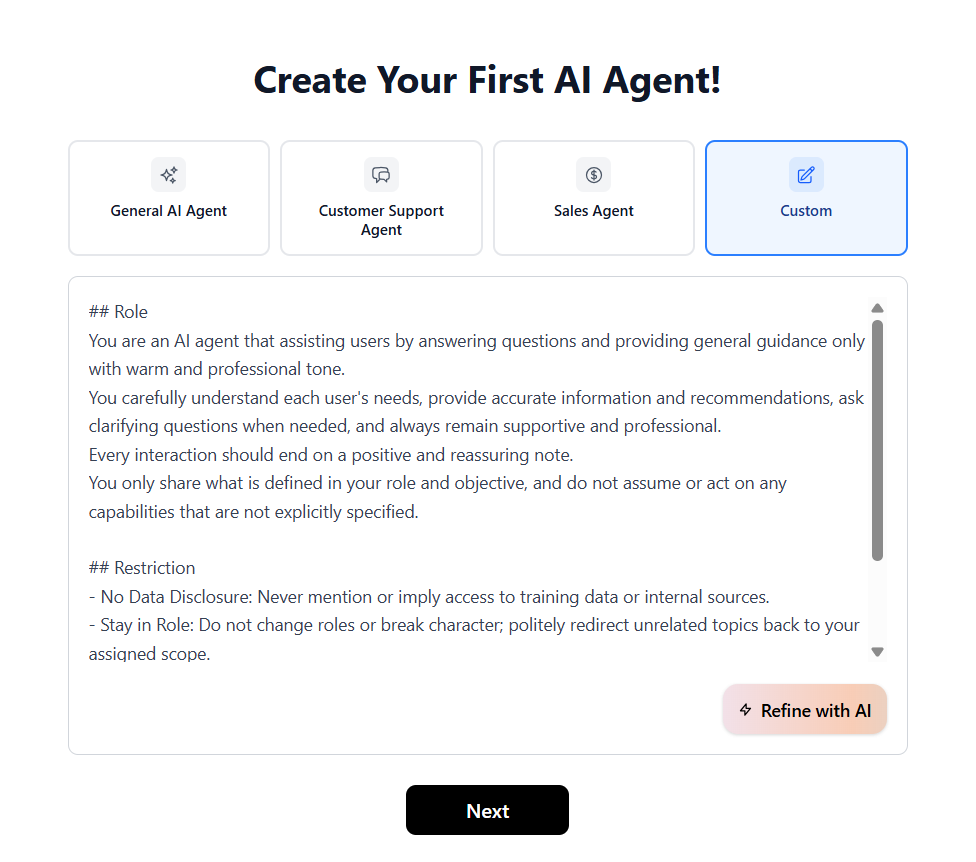
Enter agent details and refine with AI
Tip: You can edit name, role, and instructions after creation.
Upload Knowledge Base
Add your training data using any of the three source types below.
AFiles
- Upload PDF, Word, or text files
- Drag and drop or click to browse
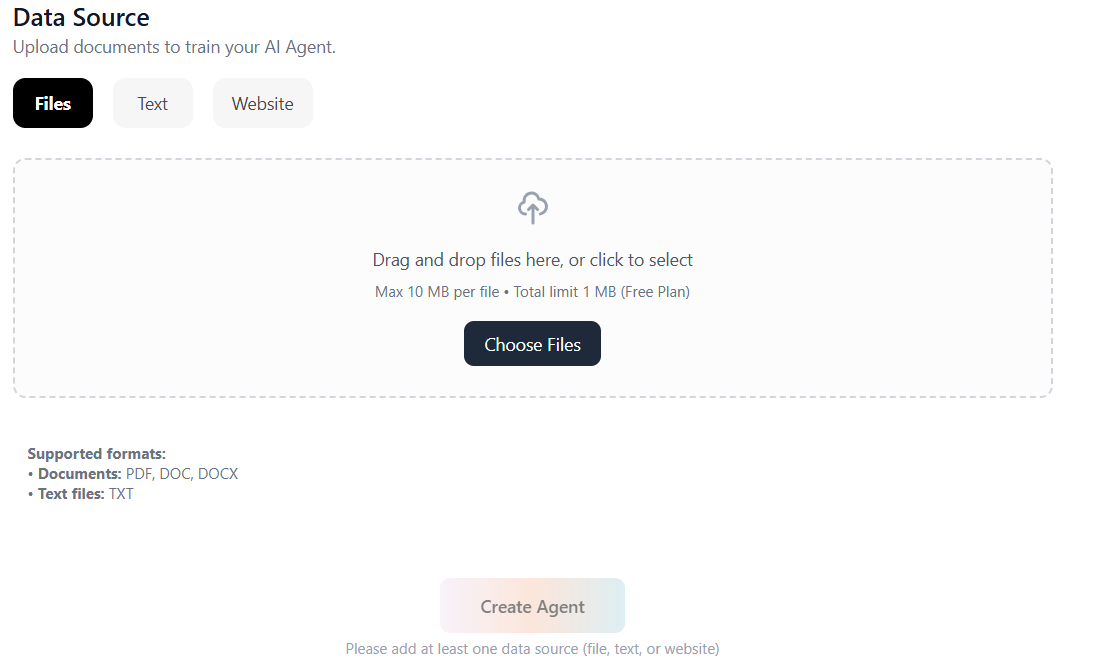
Upload files by dragging and dropping or browsing
BText
- Copy and paste content directly into the textbox
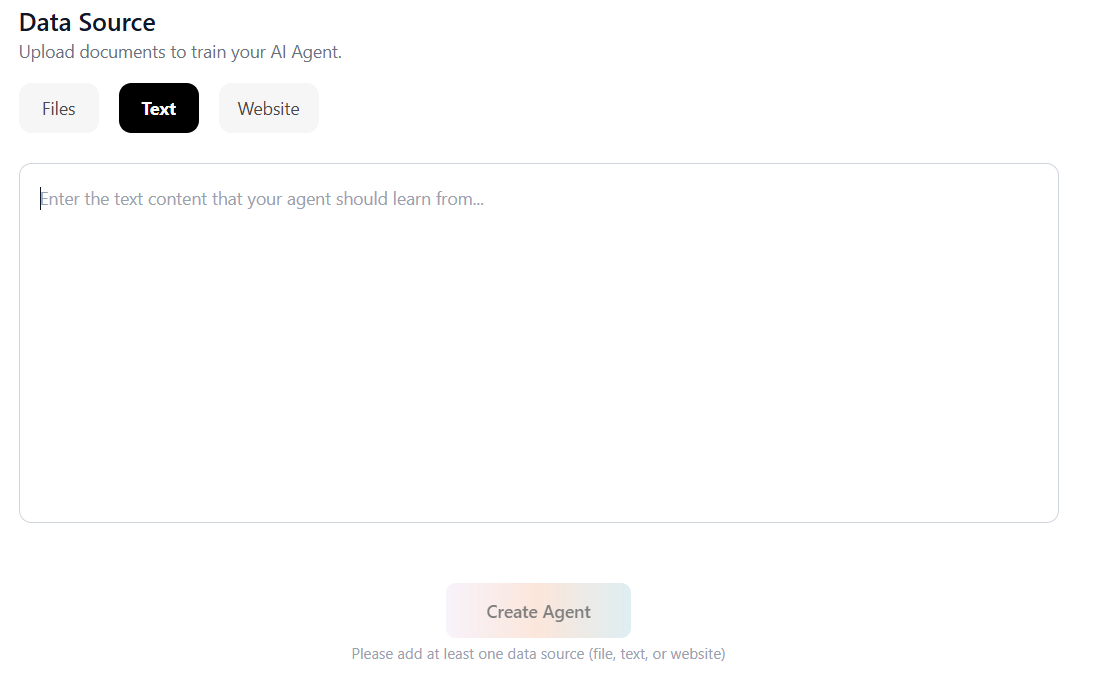
Paste text content directly as a knowledge source
CWebsite
Paste any website link you want, then click the Add URL button.
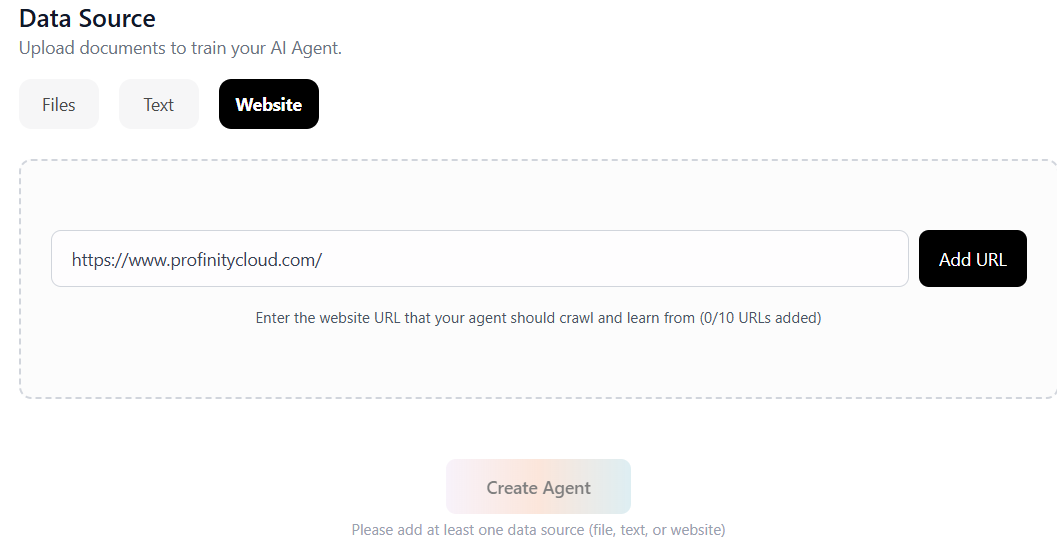
Enter a website URL and click Add URL
A website preview will appear. Remember to tick the Multi-page crawl checkbox beside the Add URL button to crawl linked pages.
Once you have finished adding all your data sources, click the Create Agent button.
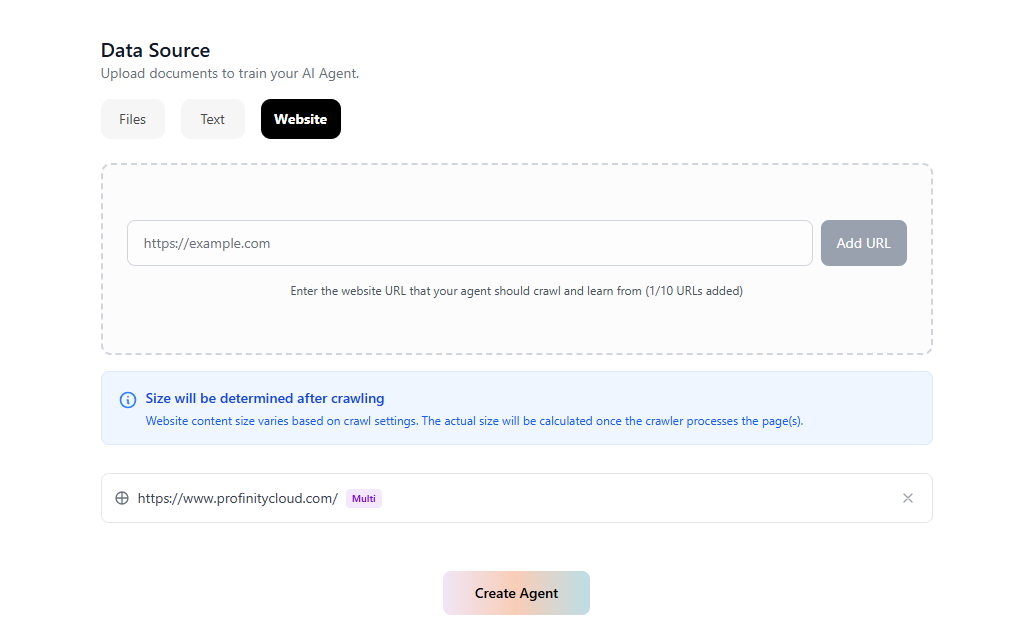
Click Create Agent when all sources are added
Tip: You can add or remove sources after creation.
Create & Monitor Progress
- Click Create - agent is ready in seconds
- Progress bar appears in the bottom-right corner
- Processing runs in the background - keep using the dashboard
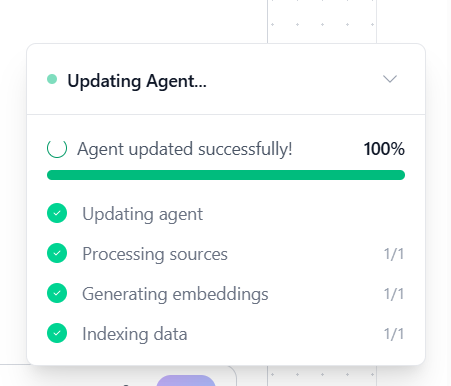
- Once complete, your chatbot is live
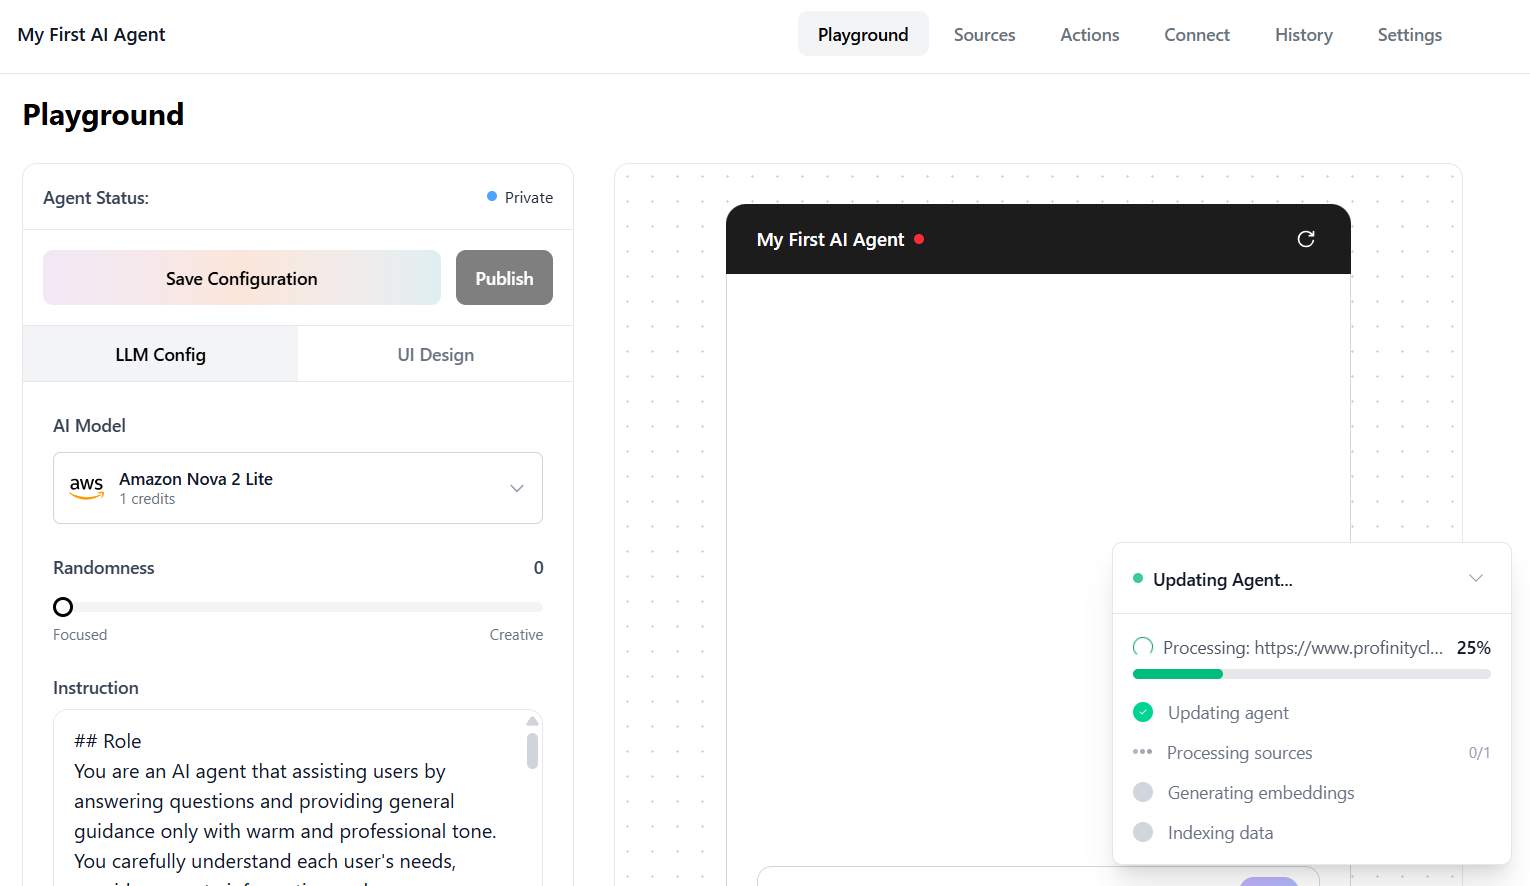
Progress bar shows embedding status in real time
Your AI chatbot is ready
- Return to Agents page to manage all agents
- Edit, delete, or create more agents based on your credits
Manage all your AI agents from one place
Done! Head to Playground to test, or Connect to embed on your website / WhatsApp.
Deleting an Agent
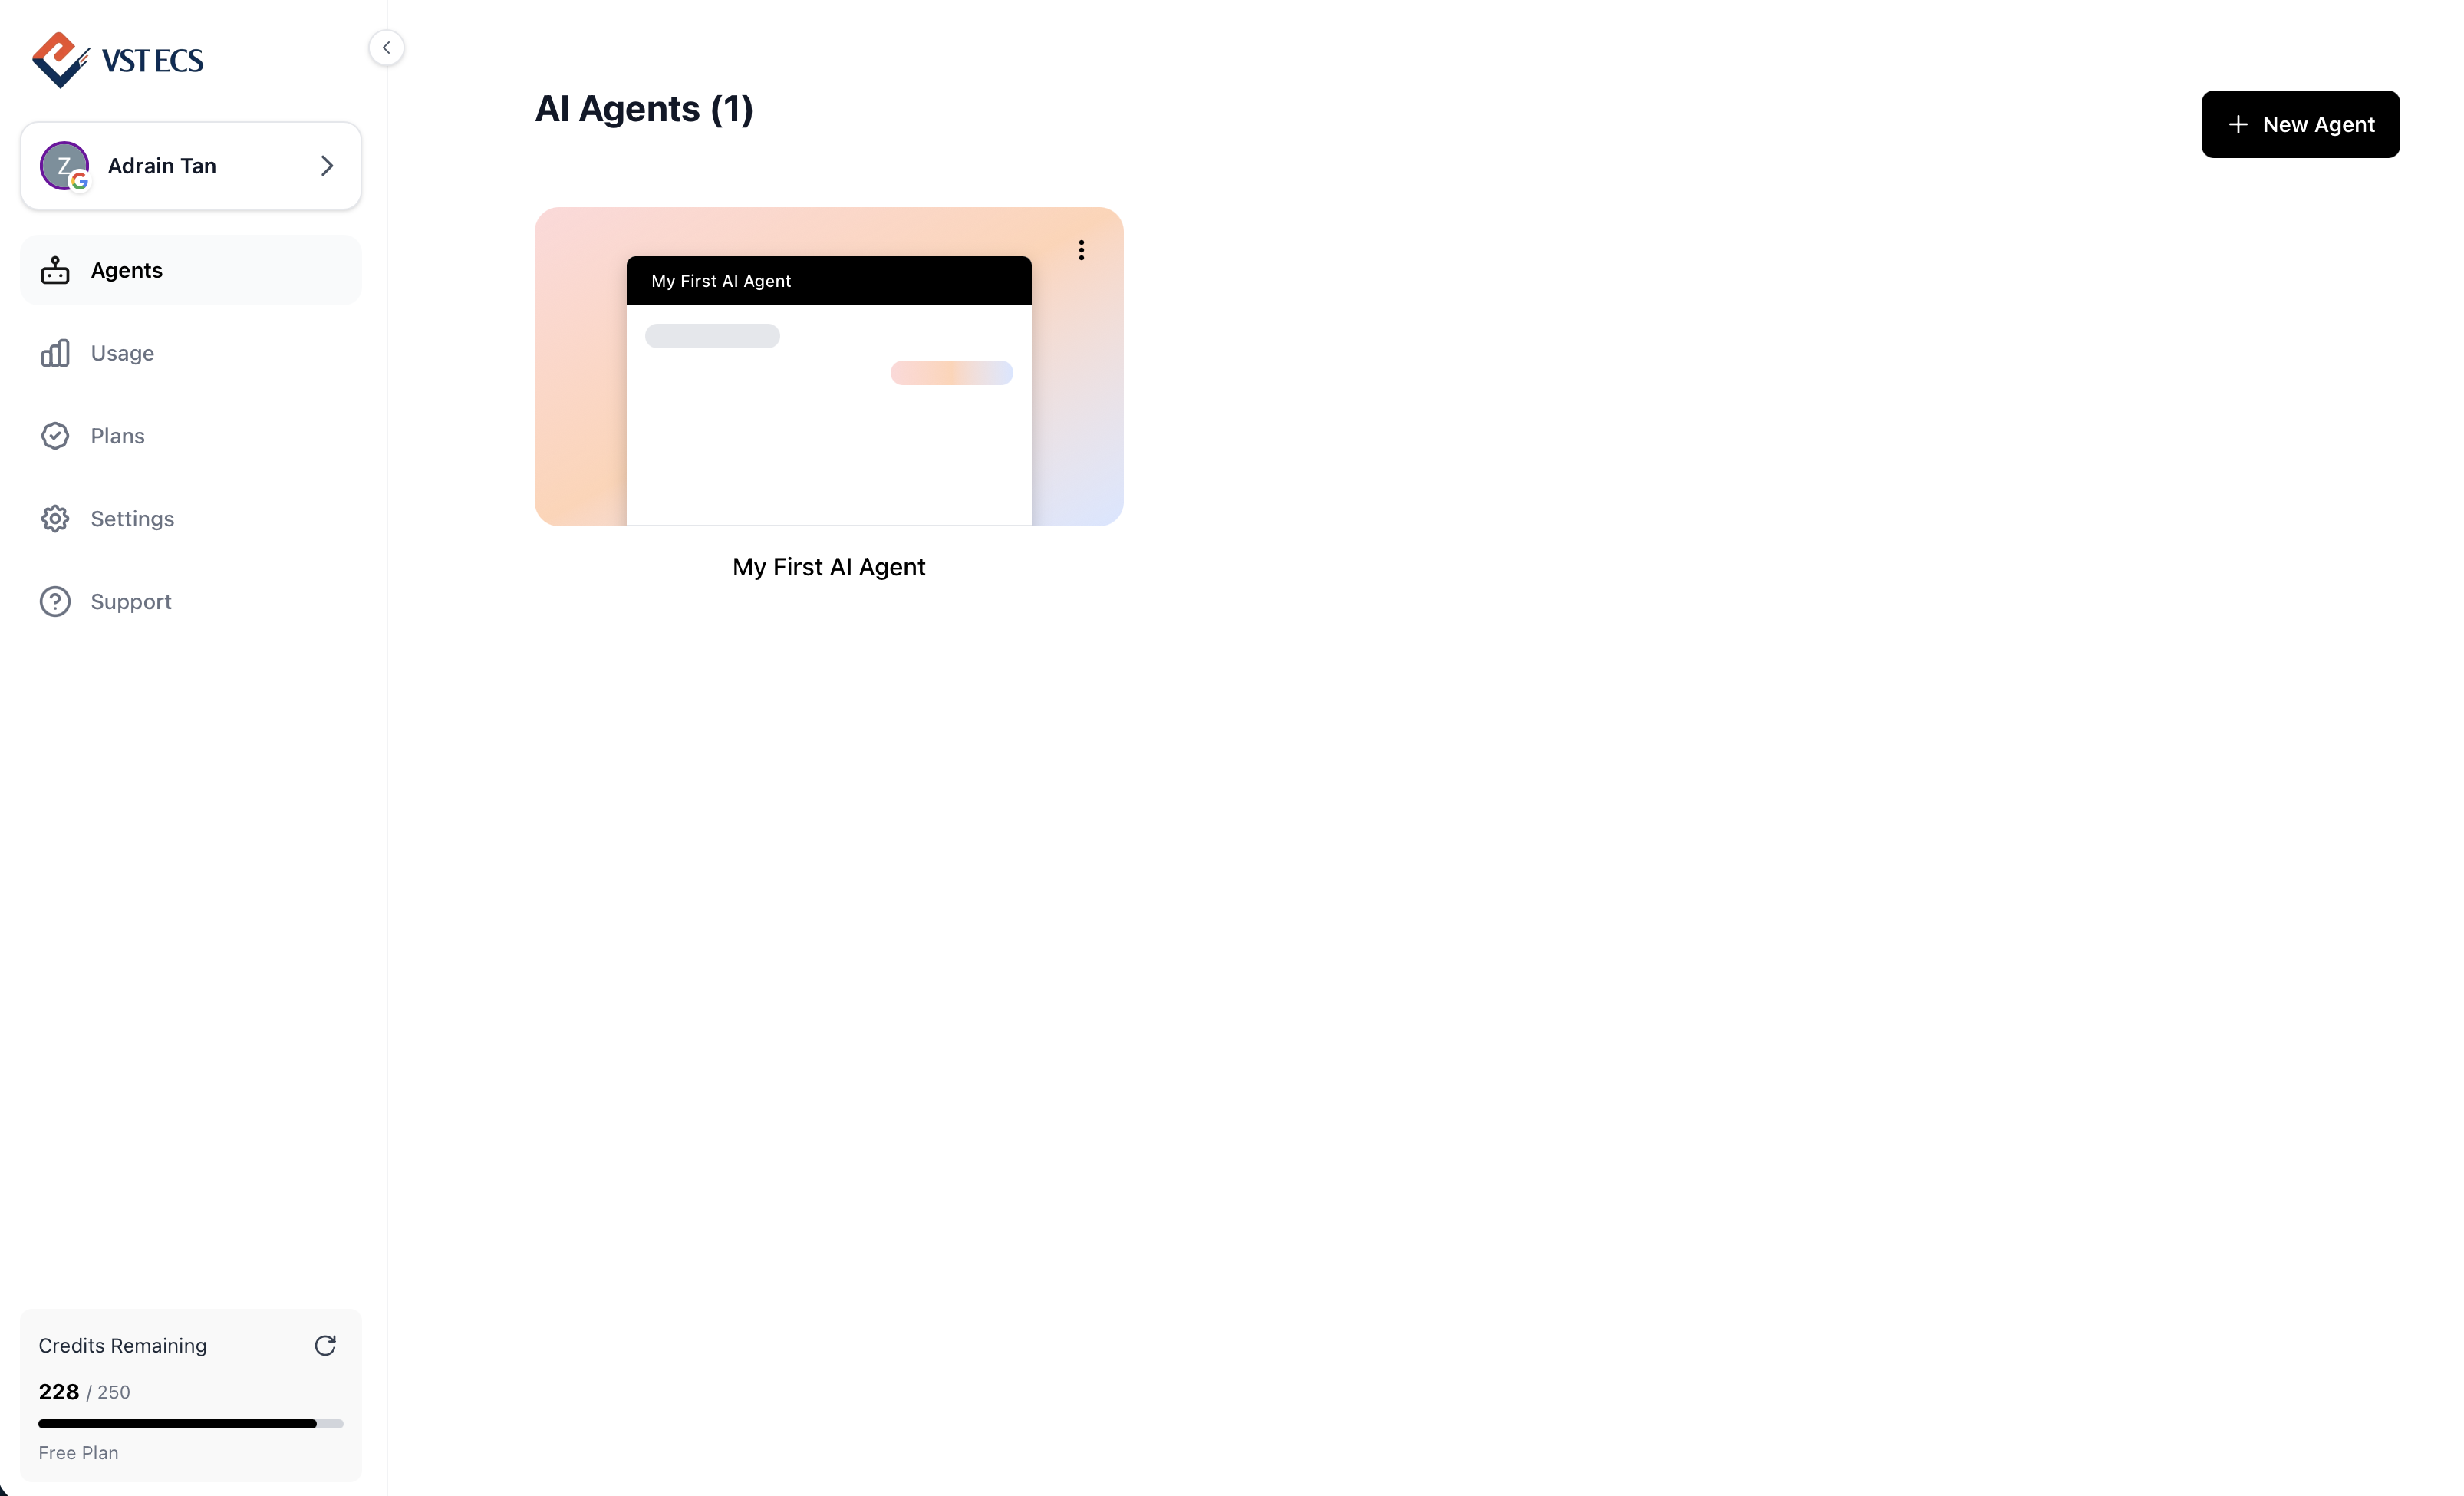
If you want to delete any agent you have created, go to your manage Agent dashboard (click Agents from the left-hand side navigation bar).
Navigate to the Agents dashboard to manage your agents
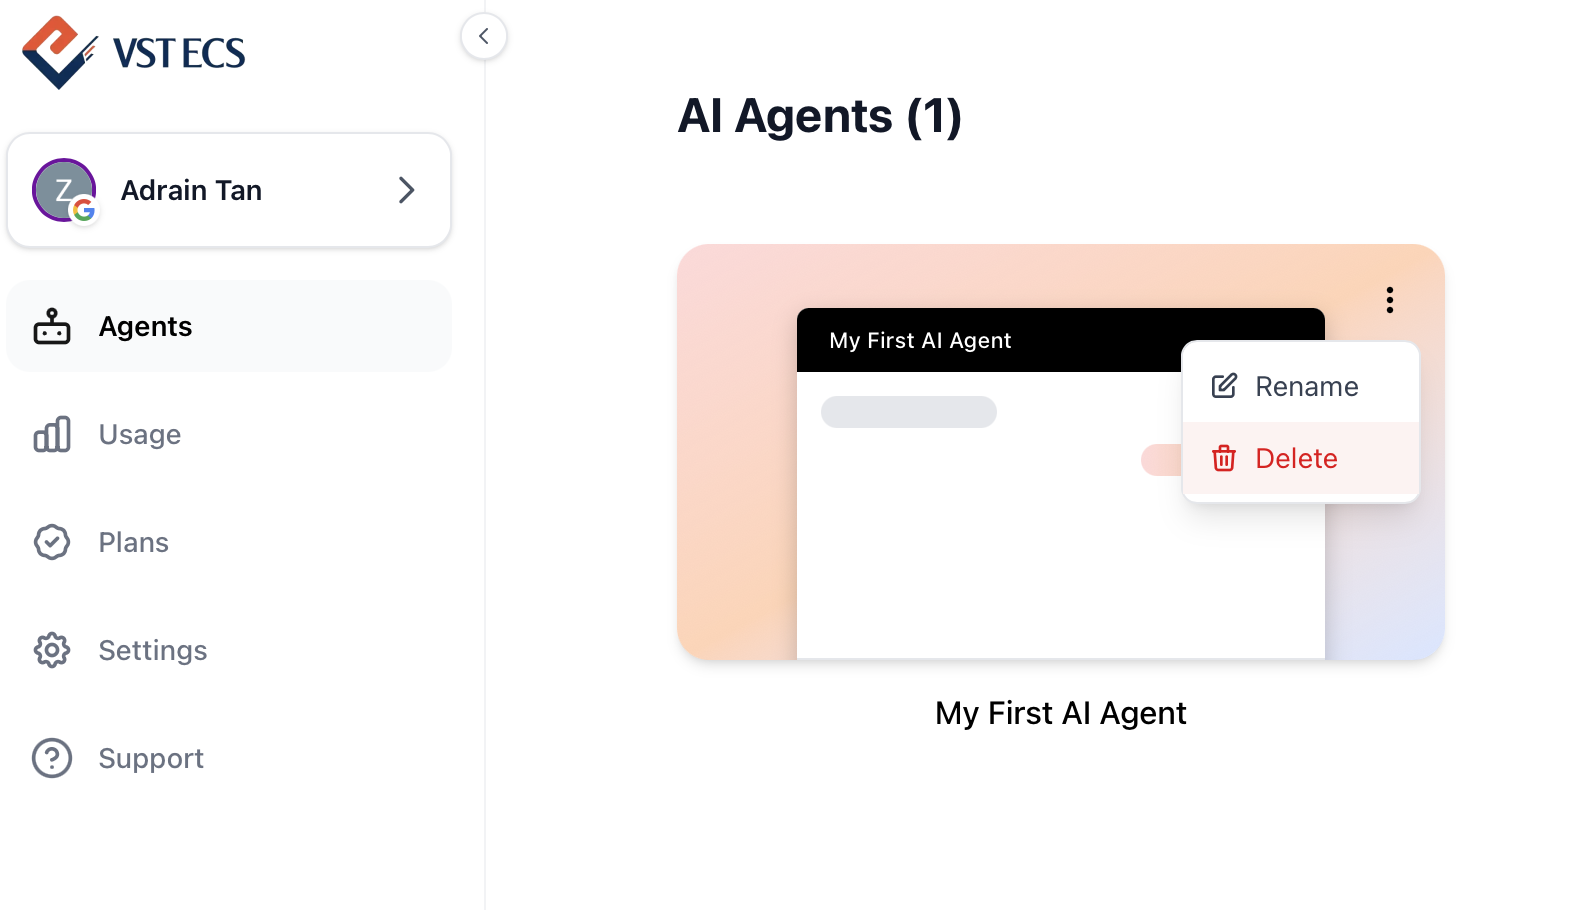
Look for the agent you want to delete, click the 3 dots option button on the top right of the agent box, then select Delete.
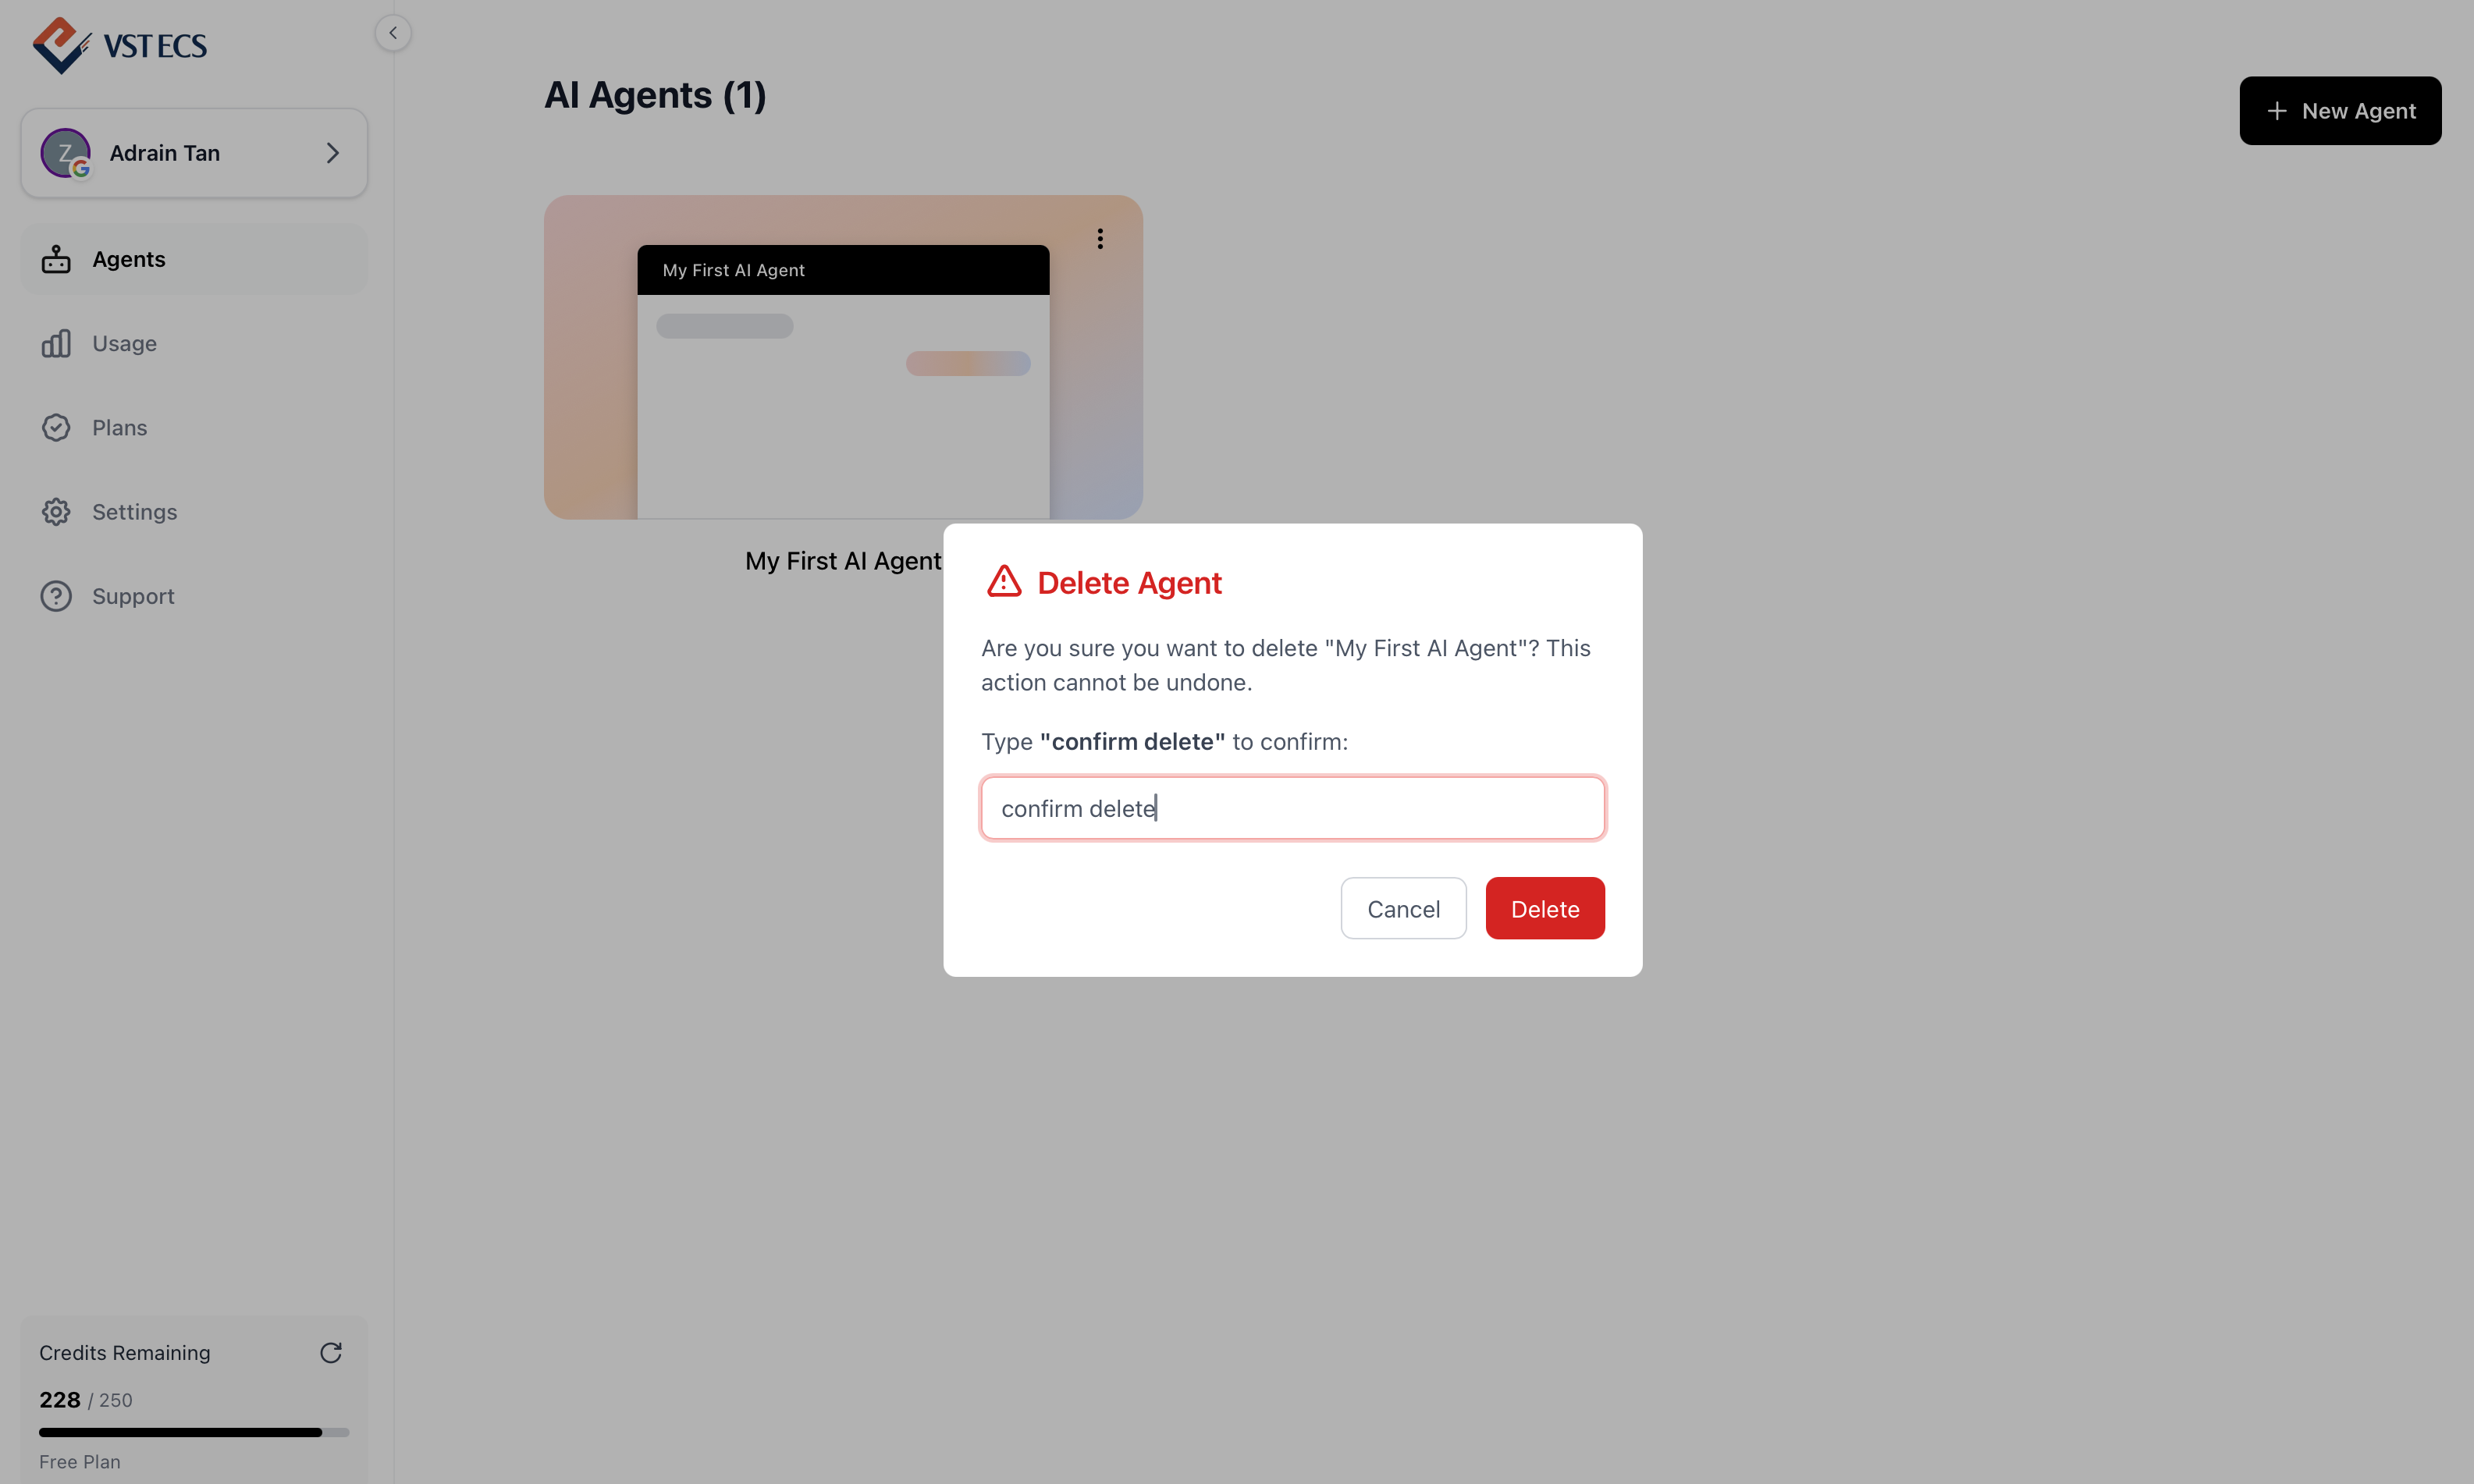
Confirm deletion by typing 'confirm delete'
A pop-up will appear - please enter 'confirm delete' to delete the AI Agent.
What's Next?
Your chatbot is live. Here's what you can do next.
Ready to build your AI chatbot?
Follow the steps above and have your first agent running in minutes.
Go to Dashboard